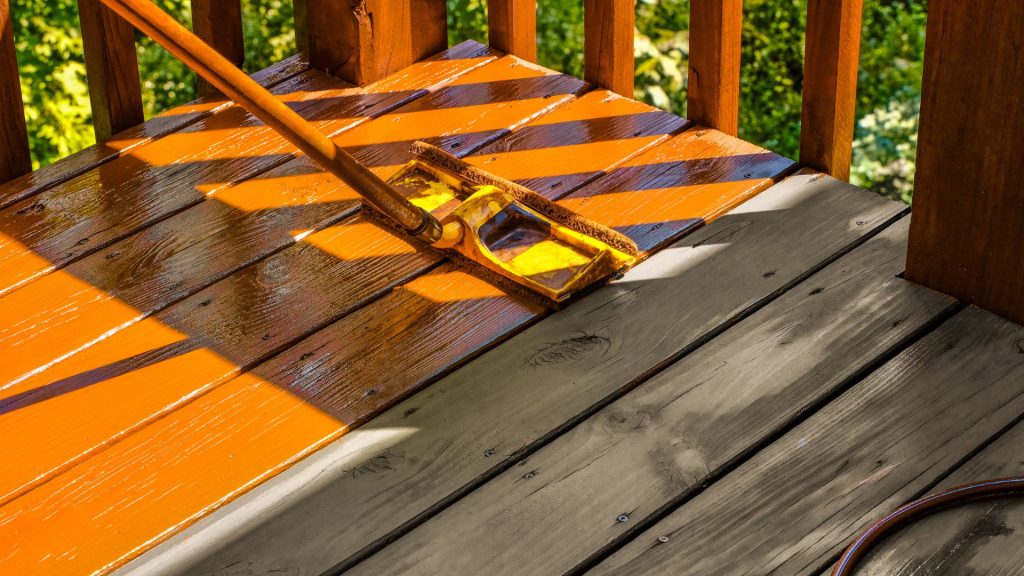
Painting an old deck is a fantastic way to refresh your outdoor space without the cost of a full deck replacement. Proper preparation is essential to ensure that your paint adheres well and stands the test of time, especially with exposure to weather. Here’s a step-by-step guide on preparing your deck for a fresh coat of paint, whether for the first time or to rejuvenate an older coat.
Inspect and Repair Your Deck
Before you pick up a paintbrush, inspect the condition of your deck. Over time, decks can develop loose boards, nails that stick out, or rot, particularly if they have been exposed to the elements for years.
- Replace or secure loose nails and screws: Any nails or screws that have popped up should be hammered or screwed back down to ensure a flat, even surface.
- Repair or replace damaged wood: Rotten, cracked, or splintered wood won’t hold paint well and can worsen over time. Cut out damaged sections or replace boards if needed.
- Fill holes or cracks: For minor cracks or gaps, use a wood filler suitable for outdoor use. Let the filler dry, and then sand it down for a smooth finish.
Clean the Deck Thoroughly
Proper cleaning is one of the most critical steps in deck preparation. A clean surface is essential for paint to adhere properly and last longer.
- Use a deck cleaner: Purchase a cleaner suitable for removing dirt, algae, and mildew. You can find commercial products or mix a solution of water, dish soap, and a small amount of bleach.
- Scrub or power wash: A power washer is effective for removing grime and debris, but use a lower pressure setting to avoid damaging the wood. If you don’t have a power washer, a deck brush and some elbow grease work, too.
- Rinse thoroughly: Rinse all cleaning solutions completely, as any residue can prevent paint from adhering.
- Allow ample drying time: After cleaning, give your deck at least 48 hours to dry or longer if you live in a humid climate. Painting on damp wood can lead to peeling and bubbling.
Sand the Deck
Sanding smooths out rough areas removes loose paint, and helps your new coat adhere better. This step is especially crucial if the old paint is peeling or flaking.
- Choose the right grit sandpaper: Use 80-grit sandpaper for rough sanding and 120-grit for finishing. An orbital sander makes this job quicker, especially for larger areas, but you can also use sanding blocks for smaller spaces.
- Focus on problem areas: Concentrate on areas with splinters, old paint, or rough patches.
- Sweep or vacuum after sanding: Remove any sanding dust from the surface to avoid interfering with paint adhesion. This may require a quick rinse; just ensure it dries thoroughly afterwards.
Apply a Primer (If Necessary)
Primer isn’t always required but is recommended for decks with exposed wood or a drastic color change.
- Choose an exterior-grade primer: Select a primer that’s suitable for wood and specifically designed for outdoor use.
- Apply evenly: Use a paint roller for larger areas and a brush for tighter spaces. Allow the primer to dry fully, following the manufacturer’s instructions before painting.
Mask Off Surrounding Areas
If your deck is attached to your house or has railings or trim in a different color, use painter’s tape and plastic sheeting to protect these areas from stray paint splatters. This ensures a clean, professional finish and saves time in the long run.
Paint Your Deck
Once your deck is fully prepped, you’re ready to paint!
- Choose the right paint: For durability, opt for an exterior-grade deck paint that’s designed to withstand foot traffic and resist weather damage.
- Use a roller and a brush: A roller will quickly work on large areas, while a brush can help you reach corners and do detail work.
- Apply thin coats: Start with a thin, even coat of paint, allowing it to dry fully before applying a second coat. Thin coats dry more evenly and help prevent bubbling.
- Check the forecast: Paint on a clear day with mild temperatures for best results. Avoid painting if rain is expected within 48 hours.
Let the Paint Cure Fully
Although the paint may feel dry to the touch within a few hours, allow your deck 48-72 hours to cure before using it. This gives the paint ample time to bond and harden, ensuring it withstands wear and tear from foot traffic, furniture, and weather.
Apply a Sealer (Optional)
For added protection, consider applying a clear outdoor sealant over the paint once it’s fully cured. This step is optional but can add an extra layer of durability, especially for decks exposed to harsh weather conditions.
Final Thoughts
Refreshing an old deck with paint improves its appearance and can extend its lifespan by protecting it from the elements. With thorough preparation, you’ll set the foundation for a beautiful, long-lasting finish. A weekend of prep work and painting will reward you with an inviting outdoor space you can enjoy for years to come!

